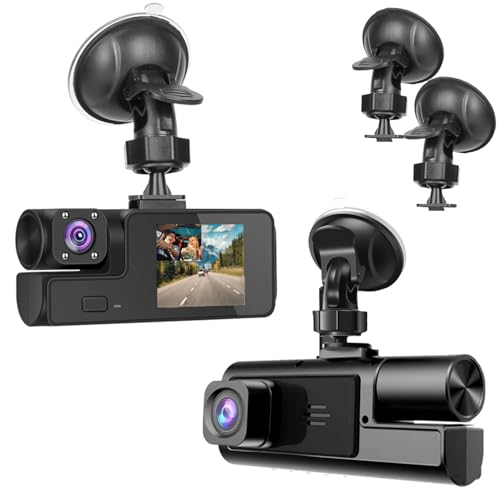
Learning how to hardwire a dash cam is the most reliable method for ensuring your camera remains powered even when the ignition is turned off, providing essential security for your vehicle.
This guide is designed for car owners and DIY enthusiasts who possess basic knowledge of vehicle interiors and electrical safety. It assumes you are comfortable working with simple hand tools and accessing your vehicle's fuse box, though it remains accessible to beginners who follow the safety protocols closely.
By the end of this deep dive, you will be able to perform a professional-grade installation, conceal your power cables, and configure your hardware for optimal parking mode performance.
- Understanding fuse types (ATM, ATS, Micro2).
- Selecting the correct constant vs. switched power sources.
- The importance of grounding your circuit properly.
- Managing cable routing and interior trim removal.
- Best practices for maintaining 24/7 security.
Overview & Prerequisites

Required Tools and Equipment
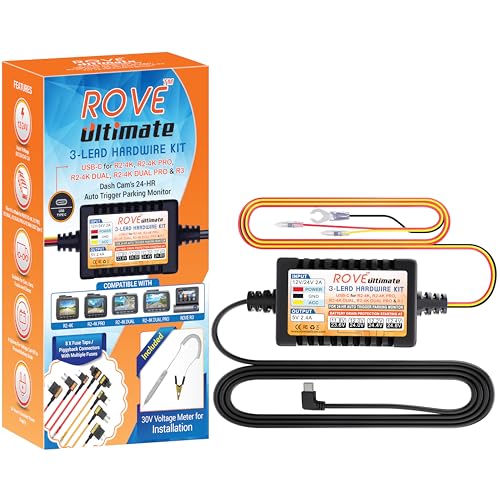
To successfully learn how to hardwire a dash cam, you will need a dedicated hardwire kit compatible with your camera's port (usually Mini-USB or USB-C). Additionally, ensure you have a trim removal tool, a circuit tester (test light), a socket wrench set for grounding, and the vehicle's owner manual to locate the fuse panel.
Who This Guide Is For
This tutorial is tailored for those who want a clutter-free dash cam setup. If you are tired of unsightly wires dangling from your cigarette lighter socket, this process will resolve that issue while potentially enabling 24/7 security features.
Core Concepts & Fundamentals

Understanding Power Modes
Hardwiring involves tapping into two distinct types of power: "Constant" (ACC) power, which flows even when the car is off, and "Switched" (Ignition) power, which only flows when the engine is running. Your hardwire kit manages the transition between these modes to protect your battery.
The Circuit Logic
A hardwire kit typically uses a "fuse tap" adapter. This allows you to insert a fuse into an existing slot while pulling power for your camera. Understanding how to identify a safe circuit—usually by avoiding safety-critical systems like airbags or fuel pumps—is vital for a stable installation.
| Feature | Correct Mental Model | Incorrect Mental Model |
|---|---|---|
| Grounding | Attaching to a clean metal bolt on the chassis | Tapping into an existing wire bundle |
| Fuse Tapping | Using a "piggyback" fuse tap adapter | Wrapping wires around a fuse prong |
| Power Source | Using non-critical accessories like radio or dome light | Using steering or airbag fuses |
Step-by-Step Execution Guide
Phase 1: Preparation and Testing
Before routing cables, plug your dash cam into the hardwire kit and test it outside the car. Use a multimeter or test light to identify which fuse slots are "Always On" and which are "Switched."
Phase 2: Finalizing the Installation
Once you have identified your ports, route the cable through the A-pillar and roof liner using your trim tools. Ensure the ground wire is attached to a solid, unpainted metal surface on the vehicle frame.
Recommended Equipment & Solution
![Dash Cam Hardwire Kit,[Upgraded Version] USB C Hardwire Kit for Dash Camera with 12V-24V to 5V Power Supply,Fuse Tap,Blade Fuses & Pry Tool,Protecting Car Dash Cam Front and Rear](https://m.media-amazon.com/images/I/41Lw3-pYLFL._SL500_.jpg)
Dash Cam Hardwire Kit,[Upgraded Version] USB C
A reliable pick for Dash Cam Hardwire Kit,[Upgraded Version], selected based on this article's guidance.
ROVE Ultimate Dash Cam Hardwire Kit, USB-C
A reliable pick for ROVE Ultimate Dash Cam Hardwire, selected based on this article's guidance.
Best Practices & Pro Tips

Maintaining Battery Health
Hardwiring is safe when using kits with built-in low-voltage cut-off settings. This prevents your dash cam from draining the car battery beyond the point where the engine can still start.
Clean Cable Management
Use cable ties to bundle excess wire and secure them behind the dashboard panels to prevent rattles and interference.
Troubleshooting & Common Pitfalls
Power Issues
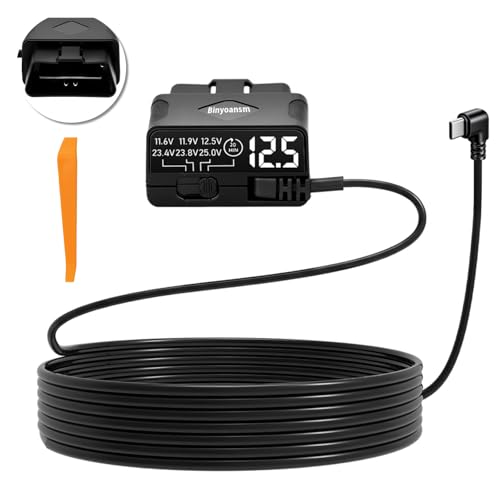
If the camera fails to power on, double-check your ground connection. Often, a painted bolt will not provide enough conductivity; look for a bare metal connection point.
Intermittent Recording
If your camera reboots while driving, you likely tapped a circuit that experiences voltage drops during heavy engine load or when the A/C kicks in. For more info on power, read about managing battery options for long-lasting parking mode.
Frequently Asked Questions
Does hardwiring a dash cam void my car's warranty?
A: Generally, no, provided you do not cut factory wires. Using fuse taps is a reversible, non-destructive process.
Can I install a hardwire kit myself if I have no electrical experience?
A: Yes, the process is straightforward with basic tools. However, if you are uncomfortable opening the fuse box, a professional installation is recommended.
What is the difference between constant and switched power?
A: Constant power remains active when the key is removed, allowing for parking mode. Switched power only engages when the vehicle ignition is turned on.
Will hardwiring drain my car battery?
A: Most modern kits feature a low-voltage cut-off that prevents the camera from drawing power once the battery drops below a set threshold.
How do I know which fuse is safe to tap?
A: Use a circuit tester to check for fuses that are not essential for driving, such as the dome light, radio, or cigarette lighter ports.
What if my car has "start-stop" technology?
A: Ensure your hardwire kit is compatible with modern vehicles, as some kits handle the temporary power dip better than others.
How long does the installation typically take?
A: For a beginner, expect to spend 60 to 90 minutes to ensure a clean, tidy, and safe setup.
Should I disconnect the car battery before starting?
A: While not strictly necessary for fuse-tapping, it is a recommended safety precaution to prevent accidental short-circuiting during the process.
Key Takeaways
- 1 Always use a dedicated hardwire kit with low-voltage protection.
- 2 Never tap into safety-critical fuses like airbag or steering sensors.
- 3 A clean ground is essential for consistent dash cam performance.
- 4 Use trim removal tools to hide cables for a professional look.
- 5 Test all power sources with a circuit tester before finalizing the installation.
- 6 Fuse taps are the industry-standard, reversible way to power accessories.
- 7 Regular inspections of your wiring ensure long-term stability and safety.
Conclusion
Mastering how to hardwire a dash cam is a rewarding upgrade that enhances your vehicle’s security while maintaining a clean aesthetic. By taking the time to properly test your circuits and securely route your cables, you ensure that your dash cam system operates reliably for years to come.
Remember to prioritize safety, keep your connections firm, and always verify your work with a test light before final reassembly of your interior panels.
Take your time with the wiring—a patient installation today prevents electrical headaches tomorrow.