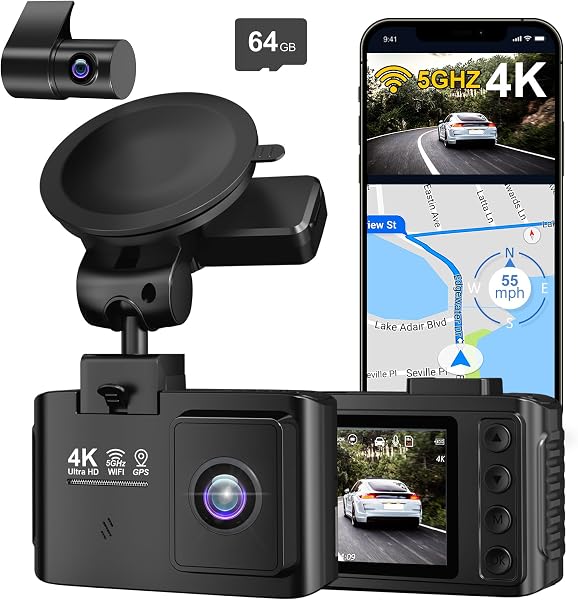
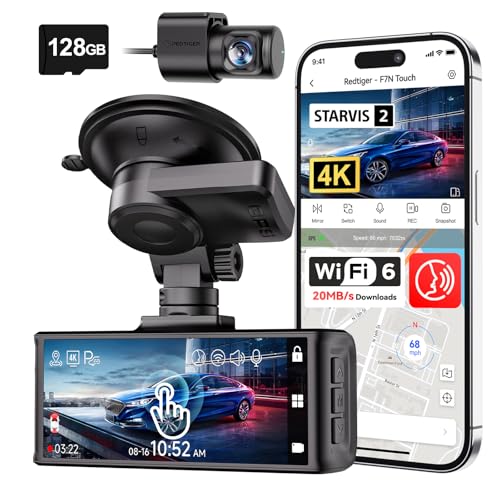
A proper diy dashcam installation is one of the most effective ways to protect yourself on the road, providing critical evidence for insurance claims and ensuring peace of mind during your daily commute.
This guide is designed for car owners of all skill levels, from beginners looking to perform a basic suction-mount setup to those ready to tackle a clean, hardwired installation. We assume no prior electrical expertise, but a standard level of comfort with handling vehicle trim and basic hand tools is recommended.
By the time you reach the end of this guide, you will be able to select the optimal camera location, safely route power cables behind interior trim, and integrate your device into the vehicle's electrical system without damaging existing components.
- Essential tool requirements for a seamless setup.
- Understanding the physics of optimal camera placement.
- Safe methods for routing power cables under headliners.
- Differentiating between switched and constant power sources.
- Testing and configuration protocols for long-term reliability.
Overview & Prerequisites

Gathering Your Equipment
Successful diy dashcam installation requires more than just the camera itself. You will generally need a plastic trim removal tool set, high-endurance microSD cards, cable management clips, and a voltage tester if you plan to hardwire. For those unsure about the financial aspect, consult How much installing a dash camera costs: A Complete Pricing Guide to compare DIY savings against professional labor.
Defining Your Skill Level
Most modern dashcams are designed for plug-and-play operation via the 12V cigarette lighter port, which is the entry-level standard. Advanced users may opt for hardwiring, which requires identifying fuse box circuits. Regardless of your chosen method, always prioritize clear visibility and minimal windshield obstruction.
Core Concepts & Fundamentals

Understanding Power Management
The power source is the heart of your camera. Learn how your device receives power by reviewing How are dash cams powered? The complete guide to installation methods. Understanding whether your camera requires a constant 12V supply for parking mode or a switched ignition supply is crucial for preventing battery drain.
Visibility and Field of View
The mounting position must balance a wide view of the road with local legal requirements regarding obstruction. Generally, placing the unit behind the rearview mirror keeps it out of the driver's direct line of sight while ensuring the lens captures all critical lane activity.
| Scenario | Best Practice | Common Mistake |
|---|---|---|
| Cable Routing | Tucked neatly under headliner and pillar trim | Dangling across the windshield |
| Mounting | Applied to cleaned, non-heated glass area | Attached directly over defroster elements |
| Power | Direct fuse tap to ignition circuit | Piggybacking off high-draw accessories |
Step-by-Step Execution Guide

Preparation and Routing Phase
Begin by mapping your cable path from the camera location to the power source. Use trim removal tools to gently pry back the rubber weather stripping and A-pillar covers. Avoid crossing cables over airbag deployment zones; always route behind or underneath these safety devices.
Hardwiring and Calibration Phase
If you are connecting to the fuse box, Do dash cams record when the car is off? Everything You Need to Know for 24/7 Security provides insight into the specific circuit types needed for parking surveillance. Ensure the ground wire is attached to a solid, unpainted metal chassis bolt.
Recommended Equipment & Solution
Dash Cam Installation Kit – Trim Removal
A reliable pick for Dash Cam Installation Kit –, selected based on this article's guidance.
Dash Cam Mount,Rearview Mirror Bracket Installation Kit,16
A reliable pick for Dash Cam Mount,Rearview Mirror Bracket, selected based on this article's guidance.
Best Practices & Pro Tips

Maintaining Long-Term Stability
Vibration is the enemy of any DIY install. Periodically check that your suction cups or adhesive pads remain firm, especially during seasonal temperature swings. If you notice frequent disconnects, inspect the power cable integrity at the connection point.
Storage Media Health
Always use high-endurance microSD cards designed specifically for write-intensive loop recording. Standard consumer-grade cards often fail under the thermal load of a vehicle cabin.
Troubleshooting & Common Pitfalls

Solving Connectivity Issues
If your camera refuses to power on, double-check your fuse tap connection. In many cases, a bad ground connection is the silent culprit. Ensure your ground ring terminal is making metal-to-metal contact with the car's chassis.
Addressing Image Quality Failures
Blurry footage often results from mounting on a windshield that has a slight factory tint or distortion. If you are still experiencing issues, consider the advice provided in our guide on Can baby car cameras see in the dark: Safe Nighttime Travel, which highlights similar sensor limitations.
Frequently Asked Questions
Will DIY installation void my car's warranty?
A: Generally, no, provided you do not splice into the existing vehicle wiring harness or cause physical damage. Always use fuse taps rather than cutting factory wires to stay within safety margins.
Can I install a dashcam in a leased vehicle?
A: Yes, the non-destructive nature of using trim tools and simple adhesive mounts makes this ideal for leased vehicles. You can easily remove the unit and restore the interior to original condition.
How often should I format the SD card?
A: It is a good practice to format your microSD card once every month to prevent data fragmentation. This simple maintenance step significantly reduces the likelihood of recording errors.
Should I use a hardwire kit or the cigarette lighter?
A: Cigarette lighters are easier to install but usually disable recording when the engine is off. Hardwire kits enable 24/7 parking surveillance but require more technical skill to install safely.
What do I do if the camera overheats?
A: Ensure the camera is not blocked by interior sun shades or heavy window tint. If the environment is extreme, try to park in shaded areas to keep the internal chassis temperature within operating limits.
Is it legal to record inside the cabin?
A: Laws regarding audio and video recording vary by jurisdiction. Always check local privacy regulations, especially if you plan to share your footage on social media platforms.
Do I need a dual-channel camera?
A: A dual-channel setup, which includes a rear-facing camera, provides significantly better protection against rear-end collisions. While more complex to install, it is a recommended upgrade for comprehensive security.
Can I hide the wires entirely?
A: With the right trim removal tools and patience, it is possible to hide 95% of the wiring behind factory panels. This provides a clean, professional aesthetic that mimics a factory-installed system.
Key Takeaways
- 1 Always perform a dry run of your mounting location before peeling any adhesive strips.
- 2 Use plastic trim removal tools to avoid damaging the vehicle’s interior panels during cable routing.
- 3 Verify if your specific vehicle requires a switched or constant power source via fuse tap.
- 4 Keep cables away from airbag deployment paths to maintain passenger safety standards.
- 5 Choose high-endurance memory cards to withstand the high-heat, high-write environment of a dashcam.
- 6 Regular maintenance, including monthly SD card formatting, is critical for consistent reliability.
- 7 When in doubt, consult your vehicle's service manual before tapping into any electrical circuits.
Conclusion
A diy dashcam installation is a rewarding project that elevates your vehicle's security profile. By following this methodical approach—from preparing your workspace to safely managing the electrical integration—you achieve a result that is both functional and aesthetically invisible.
Remember that the quality of your installation directly impacts the reliability of your evidence. Take your time during the routing phase, double-check your grounding points, and prioritize the use of high-quality components for a seamless 2026 driving experience.
Take pride in your clean, professional-grade setup; your diligence today ensures clear, indisputable evidence for tomorrow.