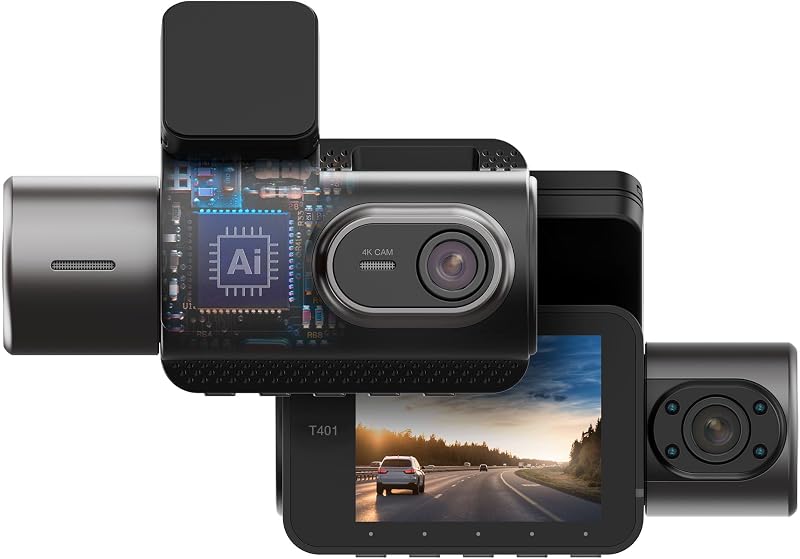
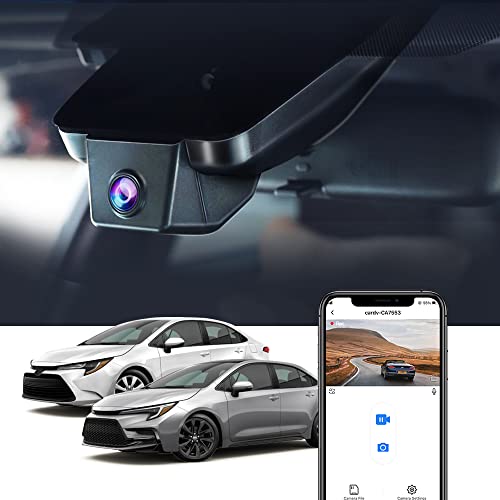
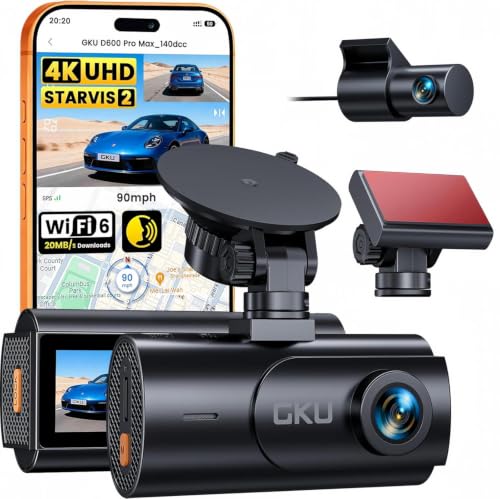
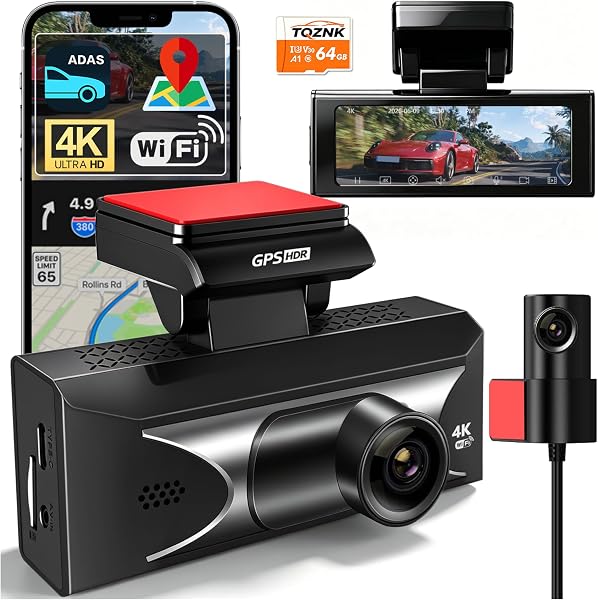
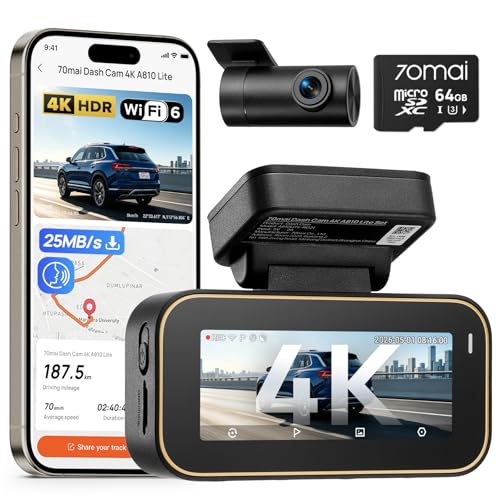
Understanding How to Setup & Use Dashcam Installation Cost: How Much You'll Pay & How to Save is essential for every vehicle owner looking to balance budget constraints with professional-grade safety and security.
This guide is designed for both the DIY enthusiast and the driver looking to hire a professional. We assume a baseline familiarity with basic automotive hand tools, but explain each step clearly enough for beginners to follow with confidence.
By the end of this guide, you will be able to evaluate whether your dashcam installation is a viable weekend project or a job best suited for a certified technician, saving you both time and potential repair costs.
- Breakdown of professional labor rates in 2026.
- Comparative analysis of DIY versus shop-installed setups.
- Required tools for a clean, hardwired installation.
- Strategic tips for cable management and power routing.
- Common pitfalls that escalate installation expenses.
Overview & Prerequisites

Determining Your Installation Path
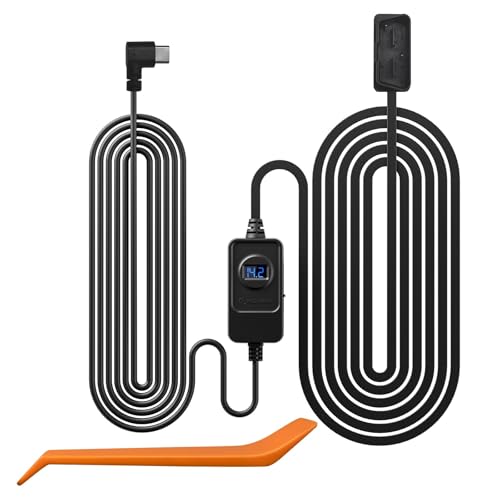
The cost of installation varies based on whether you choose a simple "plug-and-play" cigarette lighter adapter or a more robust "hardwire kit." Hardwiring ensures the camera records while parked, but it involves tapping into the car’s fuse box, which often requires professional assistance if you are not comfortable with automotive electronics.
Tools and Skill Requirements
To execute a professional install, you will need a fuse tap kit, a trim removal tool set, and a circuit tester. Before you begin, research the specific model of your vehicle to locate the cabin fuse box. For a comprehensive look at balancing these costs, check out our guide on Dashcam Installation Cost: How Much You're Paying vs. Alternatives.
Always verify your car's warranty status. Some modern vehicle manufacturers may void electrical warranties if aftermarket accessories are incorrectly hardwired into sensitive CAN-bus systems.
Core Concepts & Fundamentals

The Economics of Installation
Professional installation generally ranges from $100 to $300 depending on the complexity of your vehicle and the number of channels (front, rear, interior) being installed. High-end fleet systems often require specialized labor, as discussed in our guide on Truck Dash Cam Systems: The Ultimate Guide to Protecting Your Fleet.
Voltage and Safety Principles
The primary technical risk involves overloading a circuit or creating a battery drain. Understanding "constant" vs. "switched" power is fundamental. A professional ensures that your dashcam turns off when the car is off, unless a parking mode monitor is specifically installed to prevent battery death.
| Feature | DIY Install | Professional Install |
|---|---|---|
| Cost | Low (Tools only) | Moderate to High |
| Time Investment | 2-4 Hours | 1-2 Hours |
| Warranty Risk | Moderate (If miswired) | Low (Guaranteed) |
| Aesthetics | Variable | Factory-Clean |
Step-by-Step Execution Guide

Preparation and Planning
Before touching a single wire, test your unit outside the vehicle. Confirm the firmware is updated—for instance, if you are using a popular unit like the Redtiger F9, ensure your SD card is formatted and recognized by the system.
The Installation Phases
Best Practices & Pro Tips

Maintaining System Longevity
Heat is the enemy of dashcams. If you live in a hot climate, prioritize high-quality capacitors over batteries. Periodically inspect your memory card, as dashcams perform intensive write cycles that degrade standard SD cards over time.
Maximizing Performance
Tip: Use "High Endurance" microSD cards to ensure your footage is captured reliably without file corruption.
Success: Regularly format your memory card once a month to prevent file system fragmentation and ensure smooth playback.
Note: Always park in a way that provides the best view of the environment, not just the front of your car.
Troubleshooting & Common Pitfalls

Identifying Connectivity Issues
If your dashcam fails to boot, check your ground wire connection; a loose ground is the most common cause of power failure. If the video looks grainy, check out resources like our Azdome Dashcam Review to see how high-quality optics should perform under different light conditions.
Addressing Operational Failures
Failure: Loop recording stops prematurely. Fix: Ensure your G-sensor sensitivity is set to "Low" to avoid "lock" files filling up the memory card.
Failure: Camera restarts randomly. Fix: Verify your power cable is not damaged and the fuse tap is seated securely in the fuse box.
Failure: Inconsistent GPS signal. Fix: Ensure the GPS antenna is mounted at the top of the windshield away from metallic tinting or heat-blocking strips.
Frequently Asked Questions
How long does professional installation take?
A: Most professional shops complete a standard dashcam installation in about 90 to 120 minutes. Complex multi-channel systems may take up to half a day depending on the vehicle's trim complexity.
Will installing a dashcam kill my battery?
A: If hardwired correctly, the system uses a voltage-cutoff device that powers down the camera before it draws your battery below a starting threshold. If wired improperly, it can certainly drain a battery.
Is it worth paying a pro to install it?
A: If your vehicle is luxury or under a strict warranty, professional installation is worth the cost to ensure clean wiring and no damage to interior trim. If you have a basic, older vehicle, DIY is very achievable.
How much should I pay for professional labor?
A: Expect to pay between $100 and $300 for labor alone. Prices vary significantly based on your geographic location and the difficulty of running wires through a specific car's body panels.
Can I install a dashcam without hardwiring it?
A: Yes, you can use the cigarette lighter port. It is the cheapest and fastest method, though it will likely only record while the car is running and leave a visible power cord.
What happens if my dashcam stops working?
A: Start by testing it with a different power source, like a USB power bank. If it works, the issue is with your hardwire kit. If it still fails, the unit itself may be faulty.
Do I need to inform my insurance company?
A: Some insurance providers offer discounts for dashcams, though policies vary. It is worth contacting your agent to see if your new hardware qualifies you for a safety discount.
How often should I update my firmware?
A: You should check for firmware updates at least twice a year. Manufacturers often release updates to fix bugs, improve stability, and enhance night vision performance.
Key Takeaways
- 1 Professional installation typically costs between $100 and $300.
- 2 Hardwiring requires caution to avoid interfering with vehicle electronics.
- 3 Use trim removal tools to prevent damage to your vehicle's interior.
- 4 Always test your hardware and memory card before permanent installation.
- 5 High-endurance microSD cards are mandatory for reliable operation.
- 6 Proper grounding is the most common fix for power-related issues.
- 7 Consistent firmware updates ensure your system stays stable over time.
Conclusion
Setting up your dashcam is an investment in your safety and financial security on the road. Whether you decide to manage the wiring yourself or pay a professional to ensure a factory-like finish, the key is careful planning and testing.
By understanding the nuances of power management and correct hardware placement, you can avoid common pitfalls and ensure your system performs exactly when you need it most. For those researching specific unit performance, keep in mind that even the best systems, like the Pixelman Pmd3a, rely on proper setup to reach their potential.
Take your time with the setup; a well-installed dashcam is a silent partner that provides peace of mind for every mile you drive.
📌 Pillar Resource: Read our complete main Dashcam Installation Cost: How Much You'll Pay & How to Save guide for in-depth insights.